Remote access to Raspberry Pi devices has become a cornerstone for tech enthusiasts, developers, and professionals alike. Whether you're managing a home automation system or deploying IoT solutions, understanding how to securely and efficiently access your Raspberry Pi remotely is essential. This guide dives deep into the world of remote Raspberry Pi access, offering step-by-step instructions, expert tips, and best practices to ensure your setup is both secure and functional.
As remote work and IoT projects continue to grow in popularity, the demand for reliable remote access solutions has surged. Raspberry Pi, with its versatility and affordability, has emerged as a favorite platform for such applications. However, accessing your Raspberry Pi remotely requires more than just connecting to the internet; it demands a solid understanding of networking principles, security protocols, and configuration techniques.
In this article, we will explore the intricacies of remote access for Raspberry Pi devices, from setting up SSH connections to configuring advanced security measures. By the end of this guide, you'll be equipped with the knowledge and tools to manage your Raspberry Pi devices from anywhere in the world.
Read also:Tiaa Cd Rates Today A Comprehensive Guide To Boost Your Savings
Table of Contents
- Introduction to Remote Access for Raspberry Pi Devices
- Understanding Raspberry Pi Basics
- Setting Up SSH for Remote Access
- Exploring VPN Options for Secure Connections
- Configuring Port Forwarding
- Using Dynamic DNS for Remote Access
- Security Best Practices for Remote Access
- Setting Up Remote Desktop Access
- Troubleshooting Common Issues
- Conclusion and Next Steps
Introduction to Remote Access for Raspberry Pi Devices
Remote access allows users to control and interact with their Raspberry Pi devices from a distant location. This capability is particularly useful for managing servers, monitoring IoT setups, or accessing files stored on the device. The Raspberry Pi, with its lightweight architecture and open-source support, provides an ideal platform for remote access applications.
There are several methods to achieve remote access, each with its own advantages and challenges. Understanding these methods and selecting the most appropriate one for your needs is crucial for a successful setup.
In this section, we will discuss the fundamental concepts of remote access, the benefits it offers, and the potential risks involved. We will also touch upon the importance of security in remote access setups, setting the stage for more detailed discussions in subsequent sections.
Understanding Raspberry Pi Basics
What is a Raspberry Pi?
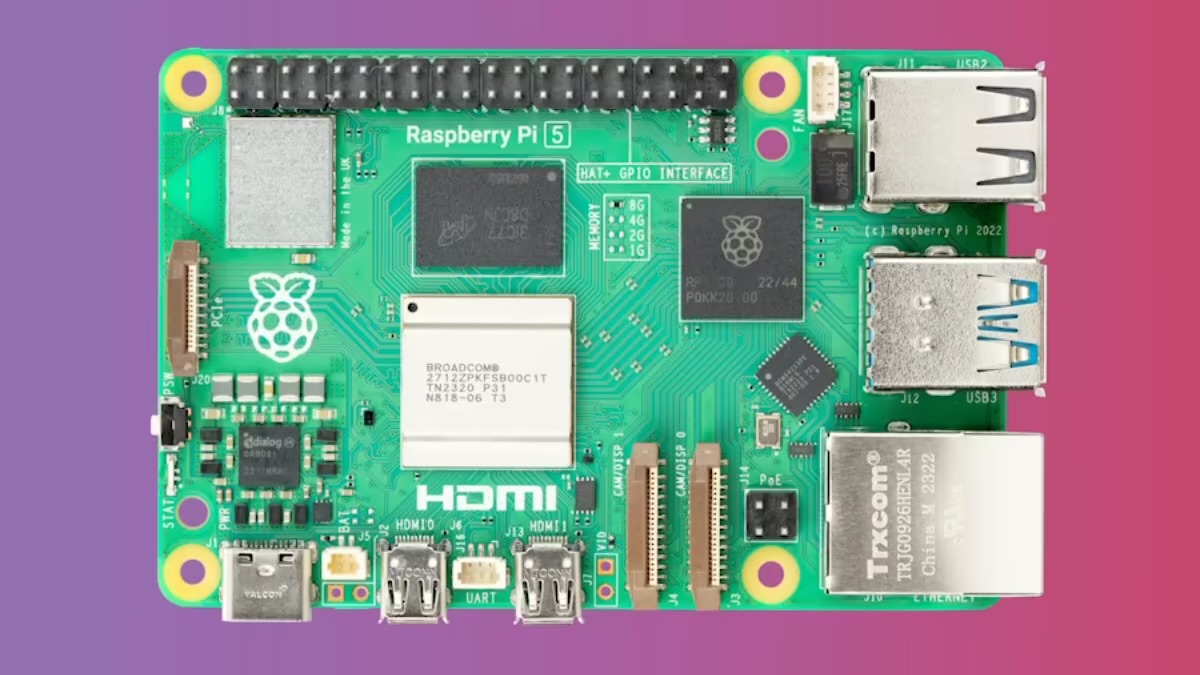
A Raspberry Pi is a credit-card-sized computer that can be used for a wide range of applications, from basic computing tasks to complex IoT projects. It is powered by a Linux-based operating system and is known for its affordability, versatility, and ease of use.
Before diving into remote access, it is essential to have a basic understanding of the Raspberry Pi's hardware and software components. Familiarity with the device's architecture will help in troubleshooting and optimizing remote access configurations.
Key Features of Raspberry Pi
- Compact and energy-efficient design
- Support for multiple operating systems
- Wide range of GPIO pins for interfacing with external devices
- Community-driven support and resources
These features make the Raspberry Pi an excellent choice for remote access applications, providing a robust platform for both beginners and advanced users.
Read also:Discovering The Long Beach Pd A Comprehensive Guide To Community Safety And Law Enforcement
Setting Up SSH for Remote Access
SSH (Secure Shell) is one of the most popular methods for remote access to Raspberry Pi devices. It provides a secure and encrypted connection, allowing users to interact with their Pi from anywhere in the world.
To set up SSH on your Raspberry Pi, follow these steps:
- Enable SSH on your Raspberry Pi by running the command
sudo raspi-configand navigating to the SSH option. - Ensure that your Raspberry Pi is connected to the internet.
- Use an SSH client on your remote device to connect to the Pi's IP address.
SSH offers several advantages, including ease of setup and strong encryption. However, it is essential to implement additional security measures to protect your device from unauthorized access.
Exploring VPN Options for Secure Connections
What is a VPN?
A Virtual Private Network (VPN) creates a secure tunnel between your device and the Raspberry Pi, encrypting all data transmitted between the two. This makes it an excellent choice for remote access, especially when dealing with sensitive information.
Several VPN solutions are available for Raspberry Pi, including:
- OpenVPN
- WireGuard
- Tailscale
Each option has its own strengths and weaknesses, and the choice depends on your specific requirements and technical expertise.
Setting Up a VPN on Raspberry Pi
Configuring a VPN on your Raspberry Pi involves installing the necessary software, generating certificates, and setting up the server-client architecture. Detailed guides are available for each VPN solution, ensuring a smooth setup process.
Configuring Port Forwarding
Port forwarding is a technique that allows external devices to access specific ports on your Raspberry Pi, enabling remote access. This is particularly useful when using services like SSH or VNC that require specific ports to be open.
To configure port forwarding, you need to access your router's settings and map the desired port to your Raspberry Pi's local IP address. While this process varies depending on the router model, most modern routers provide user-friendly interfaces for port forwarding.
It is crucial to secure these ports with strong passwords and firewalls to prevent unauthorized access.
Using Dynamic DNS for Remote Access
Dynamic DNS (DDNS) services allow you to assign a static domain name to your Raspberry Pi, even if it is connected to a dynamic IP address. This simplifies remote access by eliminating the need to manually update the IP address each time it changes.
Popular DDNS providers include No-IP, DuckDNS, and Dynu. Most of these services offer free plans, making them accessible for personal and small-scale projects.
To set up DDNS for your Raspberry Pi, follow these steps:
- Create an account with a DDNS provider and register a domain name.
- Install the DDNS client software on your Raspberry Pi.
- Configure the client to update the domain name with your current IP address.
DDNS significantly enhances the convenience of remote access, making it a valuable tool for Raspberry Pi users.
Security Best Practices for Remote Access
Security should always be a top priority when setting up remote access for your Raspberry Pi. Here are some best practices to ensure your device remains safe:
- Use strong, unique passwords for all accounts.
- Enable two-factor authentication (2FA) wherever possible.
- Regularly update your Raspberry Pi's operating system and software.
- Limit access to trusted IP addresses using firewall rules.
- Monitor access logs for suspicious activity.
Implementing these measures will help protect your Raspberry Pi from potential threats and ensure a secure remote access experience.
Setting Up Remote Desktop Access
What is Remote Desktop?
Remote desktop access allows users to view and interact with the graphical interface of their Raspberry Pi from a remote device. This is particularly useful for applications that require a graphical user interface (GUI).
To set up remote desktop access, you can use tools like VNC (Virtual Network Computing) or XRDP. Both options provide robust remote desktop capabilities, with VNC being more widely used in the Raspberry Pi community.
Configuring VNC on Raspberry Pi
To configure VNC on your Raspberry Pi, follow these steps:
- Install the VNC server software on your Raspberry Pi.
- Set up a password for secure access.
- Install a VNC client on your remote device and connect to the Raspberry Pi's IP address.
VNC offers a user-friendly interface and reliable performance, making it an excellent choice for remote desktop access.
Troubleshooting Common Issues
Despite careful planning and setup, issues can arise when configuring remote access for your Raspberry Pi. Here are some common problems and their solutions:
- Connection Issues: Ensure that your Raspberry Pi is connected to the internet and that the correct IP address or domain name is used.
- Authentication Failures: Verify that the username and password are correct and that 2FA is properly configured.
- Firewall Blocks: Check your router's firewall settings and ensure that the necessary ports are open.
- Software Conflicts: Update your Raspberry Pi's software and restart the device if necessary.
By addressing these issues promptly, you can ensure a smooth and uninterrupted remote access experience.
Conclusion and Next Steps
Remote access for Raspberry Pi devices opens up a world of possibilities, enabling users to manage and interact with their devices from anywhere in the world. By following the steps outlined in this guide, you can set up a secure and efficient remote access system tailored to your needs.
As you continue to explore the capabilities of your Raspberry Pi, consider experimenting with advanced configurations and integrating additional tools to enhance functionality. The Raspberry Pi community is a rich source of knowledge and support, so don't hesitate to reach out for assistance or share your experiences.
We invite you to leave a comment below sharing your thoughts or asking questions. Additionally, feel free to explore other articles on our site for more insights into Raspberry Pi and related technologies. Together, let's unlock the full potential of remote access for Raspberry Pi devices!