Connecting to your Raspberry Pi remotely using SSH behind a router is an essential skill for anyone working with IoT devices or home servers. Whether you're a beginner or an advanced user, this guide will walk you through every step of the process while addressing common challenges and offering practical solutions.
In today's interconnected world, remote access to devices has become more important than ever. With the growing popularity of Raspberry Pi as a versatile single-board computer, understanding how to configure remote SSH (Secure Shell) access is crucial for managing your projects effectively. This article will provide you with detailed instructions and expert advice to ensure seamless connectivity.
Our focus will be on ensuring security, efficiency, and reliability when setting up remote SSH for your Raspberry Pi behind a router. By the end of this guide, you'll have the knowledge and tools necessary to troubleshoot and maintain your setup confidently. Let's dive in!
Read also:Brainchild Robthecoins Unveiling The Visionary Behind The Digital Revolution
Table of Contents
- Introduction to Remote SSH Raspberry Pi Behind Router
- Understanding SSH and Its Importance
- Raspberry Pi Configuration for SSH
- Router Configuration for Port Forwarding
- Using Dynamic DNS for Remote Access
- Securing Your Remote SSH Connection
- Troubleshooting Common Issues
- Advanced Techniques for Remote SSH
- Alternative Methods for Remote Access
- Conclusion and Next Steps
Introduction to Remote SSH Raspberry Pi Behind Router
Remote SSH Raspberry Pi behind router enables you to access and manage your device from anywhere in the world. This capability is particularly useful for automating tasks, monitoring systems, or troubleshooting issues without needing physical access to the device.
Why Use SSH for Raspberry Pi?
SSH provides a secure method of communication between your computer and Raspberry Pi. It encrypts data transfers, ensuring that sensitive information remains protected. Additionally, SSH supports various authentication methods, including passwords and SSH keys, which enhance security.
Key benefits of using SSH for Raspberry Pi include:
- Secure and encrypted communication.
- Ability to automate scripts and commands.
- Remote file transfer capabilities.
- Compatibility with multiple operating systems.
Understanding SSH and Its Importance
SSH, or Secure Shell, is a network protocol that facilitates secure communication between two devices over an unsecured network. It is widely used for remote administration and file transfers due to its robust security features.
How SSH Works
When you connect to your Raspberry Pi via SSH, the protocol establishes an encrypted tunnel between your local machine and the remote device. This tunnel ensures that all data exchanged between the two systems remains confidential and tamper-proof.
Key components of SSH include:
Read also:Discover New Zealands Stunning Scenery What Makes It A Travelers Paradise
- Client-server architecture.
- Public and private key pairs for authentication.
- Encryption algorithms for data protection.
Raspberry Pi Configuration for SSH
Before setting up remote SSH Raspberry Pi behind router, you need to ensure that SSH is enabled on your device. Follow these steps to configure SSH on your Raspberry Pi:
- Access your Raspberry Pi either directly or via a local network.
- Open the terminal and type
sudo raspi-config. - Navigate to "Interfacing Options" and select "SSH".
- Choose "Yes" to enable SSH.
- Reboot your Raspberry Pi to apply the changes.
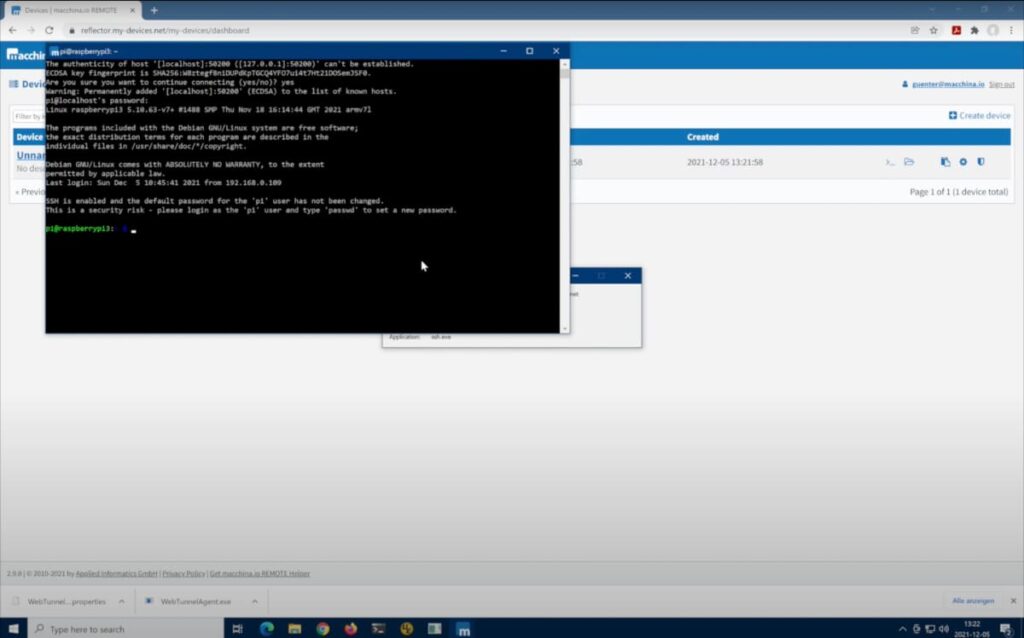
Once SSH is enabled, you can test the connection locally using the command:
ssh pi@
Router Configuration for Port Forwarding
To access your Raspberry Pi remotely, you need to configure port forwarding on your router. This process involves directing incoming traffic on a specific port to your Raspberry Pi's local IP address.
Steps for Configuring Port Forwarding
- Log in to your router's admin interface using its IP address.
- Locate the "Port Forwarding" or "Virtual Server" section.
- Create a new rule with the following details:
- Service Name: SSH
- External Port: 22
- Internal IP Address: Raspberry Pi's local IP
- Internal Port: 22
- Save the settings and restart your router if necessary.
Ensure that your Raspberry Pi's IP address is static to avoid connectivity issues. You can configure a static IP either through your router or by editing the DHCP settings on your Raspberry Pi.
Using Dynamic DNS for Remote Access
Dynamic DNS (DDNS) simplifies remote access by providing a consistent domain name for your router's changing public IP address. This service is especially useful if your internet service provider assigns dynamic IP addresses.
Setting Up Dynamic DNS
Follow these steps to set up Dynamic DNS for your Raspberry Pi:
- Sign up for a DDNS service such as No-IP or DuckDNS.
- Create a hostname that points to your router's public IP address.
- Install the DDNS client on your router or Raspberry Pi to update the hostname automatically.
- Test the connection using the hostname instead of the IP address.
Securing Your Remote SSH Connection
Security is paramount when setting up remote SSH Raspberry Pi behind router. Implementing best practices ensures that your device remains protected from unauthorized access.
Best Practices for SSH Security
- Change the default SSH port (22) to a non-standard port.
- Disable password authentication and use SSH keys instead.
- Limit access to specific IP addresses using firewall rules.
- Regularly update your Raspberry Pi's operating system and software.
Additionally, consider using tools like Fail2Ban to block repeated login attempts from malicious actors.
Troubleshooting Common Issues
Even with careful configuration, you may encounter issues when setting up remote SSH Raspberry Pi behind router. Below are common problems and their solutions:
- Connection Refused: Verify that SSH is enabled on your Raspberry Pi and port forwarding is correctly configured on your router.
- Timeout Errors: Check your router's firewall settings and ensure that the necessary ports are open.
- Authentication Failed: Double-check your SSH key or password and ensure they match the credentials on your Raspberry Pi.
Advanced Techniques for Remote SSH
Once you've mastered the basics, consider exploring advanced techniques to enhance your remote SSH experience:
SSH Tunnels
SSH tunnels allow you to securely access other services on your Raspberry Pi, such as web servers or databases. Use the following command to create a tunnel:
ssh -L
SSH Jump Hosts
SSH jump hosts enable you to connect to your Raspberry Pi through an intermediate server, providing an additional layer of security.
Alternative Methods for Remote Access
While SSH is the most popular method for remote access, alternative solutions are available:
- VNC: Virtual Network Computing allows graphical remote access to your Raspberry Pi.
- TeamViewer: A user-friendly option for cross-platform remote access.
- NGROK: A tunneling service that simplifies remote access without requiring router configuration.
Conclusion and Next Steps
In conclusion, setting up remote SSH Raspberry Pi behind router is a valuable skill that opens up numerous possibilities for managing and interacting with your device. By following the steps outlined in this guide, you can ensure secure and reliable remote access while maintaining optimal performance.
We encourage you to experiment with the techniques discussed and explore additional resources to deepen your understanding. Don't forget to share your experiences and insights in the comments below. For further reading, check out our articles on Raspberry Pi projects and networking fundamentals.
Stay connected and keep learning!