Are you ready to dive into the world of IoT and cloud computing? The phrase "remote IoT VPC SSH Raspberry Pi AWS free" might sound like tech jargon at first, but trust me, it's about to change your life. Imagine being able to control your devices from anywhere in the world using just a Raspberry Pi and AWS's free tier services. It's like having superpowers, except instead of flying or invisibility, you get to automate your home and monitor your projects remotely.
This setup isn't just for tech wizards; it's accessible to anyone willing to learn. Whether you're a hobbyist, a student, or a professional looking to explore the potential of IoT, this guide will walk you through every step. By the end of it, you'll have a fully functional remote IoT system running on AWS's free tier, saving you both time and money.
Now, let's break it down. We'll cover everything from setting up your Raspberry Pi to configuring your AWS VPC and SSH connections. This isn't just another tech article—it's your roadmap to mastering remote IoT. So grab a coffee, get comfy, and let's get started!
Read also:Whatrsquos The Buzz About September 27 Zodiac Sign Herersquos Everything You Need To Know
Understanding the Basics of Remote IoT
Before we jump into the nitty-gritty, it’s important to wrap your head around what remote IoT really means. Simply put, it’s about connecting devices over the internet and controlling them from afar. Think about it like this: you’re chilling at work, and suddenly you remember you left your coffee maker on at home. With remote IoT, you can switch it off with just a few taps on your phone. Cool, right?
Now, when we talk about "remote IoT VPC SSH Raspberry Pi AWS free," we’re combining several powerful technologies. The Raspberry Pi acts as your brain, AWS provides the cloud infrastructure, and SSH ensures secure communication. Together, they create a robust system that lets you manage your devices no matter where you are.
What is IoT and Why Does It Matter?
IoT, or the Internet of Things, is all about connecting everyday objects to the internet. These objects can then send and receive data, making them smarter and more interactive. For example, your fridge could tell you when you're running low on milk or your thermostat could adjust itself based on your schedule. IoT is revolutionizing industries, from healthcare to manufacturing, and it’s making our lives more convenient.
Setting Up Your Raspberry Pi
Your Raspberry Pi is the heart of this operation, so setting it up correctly is crucial. First, you’ll need to install an operating system like Raspberry Pi OS. Don’t worry if you’re new to this—there are tons of beginner-friendly guides out there to help you through the process. Once your OS is up and running, make sure your Pi is connected to your local network.
Tools You’ll Need
- Raspberry Pi (any model will do, but newer ones are faster)
- MicroSD card (at least 16GB)
- Power supply
- Ethernet cable or Wi-Fi
Pro tip: Always keep your Raspberry Pi updated. Run commands like sudo apt update and sudo apt upgrade regularly to ensure everything runs smoothly.
Creating a VPC on AWS Free Tier
Amazon Web Services (AWS) offers a free tier that’s perfect for beginners. A Virtual Private Cloud (VPC) is essentially your own private network within AWS. It’s where your IoT devices will live and communicate securely. Setting up a VPC might sound intimidating, but it’s simpler than you think.
Read also:Tyler Perrys Son The Rising Star In Hollywoods Spotlight
Head over to the AWS Management Console, log in, and navigate to the VPC dashboard. From there, you can create a new VPC by following the step-by-step wizard. Make sure to note down important details like your subnet ID and security group settings—you’ll need them later.
Why Use AWS Free Tier?
The AWS free tier is a game-changer for hobbyists and small projects. It gives you access to a host of services, including EC2 instances, S3 storage, and more, all without breaking the bank. Plus, it’s a great way to learn the ropes of cloud computing without committing to hefty subscription fees.
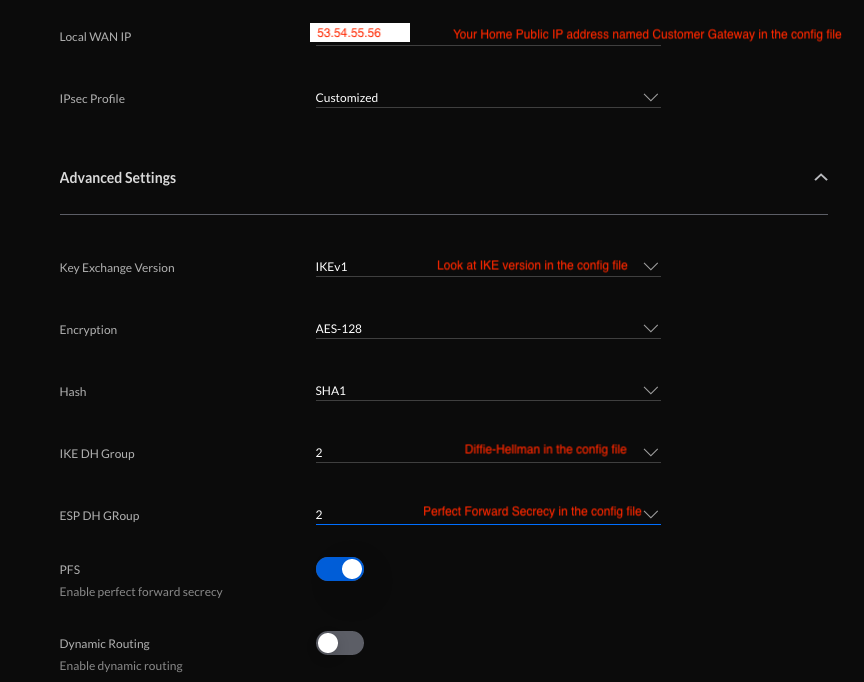
Configuring SSH for Secure Connections
SSH, or Secure Shell, is your ticket to accessing your Raspberry Pi remotely. It encrypts your communication, ensuring that your data stays safe even when you’re connecting over public networks. Setting up SSH involves generating keys, configuring your Raspberry Pi, and opening the necessary ports on your AWS VPC.
Generating SSH Keys
Here’s a quick rundown of how to generate SSH keys:
- Open your terminal or command prompt.
- Run the command
ssh-keygen -t rsa. - Follow the prompts to save your keys and set a passphrase.
Once your keys are generated, copy the public key to your Raspberry Pi using ssh-copy-id. This step is crucial for establishing a secure connection.
Connecting Raspberry Pi to AWS VPC
Now comes the fun part: connecting your Raspberry Pi to your AWS VPC. This step involves assigning an Elastic IP to your EC2 instance and configuring your security group rules to allow SSH traffic. Trust me, once you’ve done this, you’ll feel like a tech wizard.
Steps to Connect
- Assign an Elastic IP to your EC2 instance in the AWS console.
- Update your security group to allow inbound SSH traffic on port 22.
- SSH into your Raspberry Pi using the command
ssh pi@your-elastic-ip.
Managing IoT Devices Remotely
With your Raspberry Pi connected to AWS, it’s time to start managing your IoT devices remotely. This could mean controlling smart lights, monitoring sensors, or even automating your home security system. The possibilities are endless!
Popular IoT Protocols
When working with IoT devices, you’ll likely encounter protocols like MQTT, HTTP, and CoAP. Each has its own strengths, so choose the one that best fits your project. For example, MQTT is lightweight and perfect for low-bandwidth environments, while HTTP is great for web-based applications.
Troubleshooting Common Issues
No matter how careful you are, things can go wrong. Maybe your SSH connection drops, or your Raspberry Pi stops responding. Don’t panic! Here are some common issues and how to fix them:
- SSH Connection Refused: Check your security group rules and ensure port 22 is open.
- Raspberry Pi Offline: Verify your Pi’s power supply and network connection.
- AWS VPC Misconfiguration: Double-check your subnet settings and route tables.
Best Practices for Security
Security should always be a top priority when working with remote IoT setups. Here are some best practices to keep your system safe:
- Use strong, unique passwords for all accounts.
- Regularly update your software and firmware.
- Limit access to your AWS resources by using IAM roles and policies.
Why Security Matters
IoT devices are prime targets for hackers. A single breach could compromise your entire network, so taking security seriously is essential. Remember, it’s always better to be safe than sorry.
Conclusion
In this guide, we’ve covered everything you need to know about setting up a remote IoT system using Raspberry Pi and AWS free tier. From understanding the basics of IoT to configuring SSH and managing devices, you’re now equipped with the knowledge to bring your projects to life.
So, what’s next? Start experimenting! Try connecting different devices, explore new protocols, and push the limits of what you can achieve with remote IoT. And don’t forget to share your experiences in the comments below. Your journey has just begun, and who knows where it might take you?
Table of Contents
- Understanding the Basics of Remote IoT
- Setting Up Your Raspberry Pi
- Creating a VPC on AWS Free Tier
- Configuring SSH for Secure Connections
- Connecting Raspberry Pi to AWS VPC
- Managing IoT Devices Remotely
- Troubleshooting Common Issues
- Best Practices for Security
- Conclusion