Have you ever wondered how to securely connect to your remote IoT devices? Well, buckle up because we’re diving deep into the world of remote IoT device SSH examples. Whether you’re a tech enthusiast or someone just getting started with IoT, this guide will walk you through everything you need to know. From understanding SSH basics to setting up secure connections, we’ve got you covered!
Let’s face it—IoT devices are everywhere these days. From smart thermostats to industrial sensors, these gadgets are transforming the way we live and work. But with great power comes great responsibility. Connecting to these devices remotely requires a secure method, and that’s where SSH (Secure Shell) comes in. Think of SSH as the superhero of remote connections, protecting your data from prying eyes.
In this article, we’ll explore why SSH is crucial for remote IoT device management, provide practical examples, and share tips to make your connections as secure as Fort Knox. So grab your favorite beverage, and let’s get started. Trust me; by the end of this, you’ll be an SSH pro!
Read also:American Horror Story Cast The Ultimate Guide To Your Favorite Screams
Table of Contents
- Introduction to SSH
- Why SSH for IoT Devices?
- Basic SSH Setup for IoT Devices
- SSH Example: Step-by-Step Guide
- Common SSH Commands for IoT
- Securing Your SSH Connection
- Troubleshooting SSH Issues
- Best Practices for Remote IoT SSH
- Real-World SSH Examples for IoT
- Conclusion: Take Your SSH Skills to the Next Level
Introduction to SSH: The Backbone of Secure Connections
Alright, let’s start with the basics. SSH, or Secure Shell, is like a secret tunnel that lets you access and control remote devices without worrying about hackers eavesdropping on your activities. Imagine you’re sitting in your cozy living room, but you need to check the status of a sensor installed miles away. SSH allows you to do just that—safely and securely.
SSH works by encrypting all data transmitted between your computer and the remote device. This means even if someone intercepts the connection, they won’t be able to make sense of what’s being sent back and forth. Cool, right? Now, let’s dive into why SSH is such a game-changer for IoT devices.
Why SSH for IoT Devices? Because Security Matters
IoT devices often operate in environments where security isn’t always top-of-mind. Think about it—these gadgets might be out in the field, connected to public networks, or simply left unattended. That’s where SSH shines. It provides a reliable way to manage and monitor your devices without compromising their security.
Here’s why SSH is perfect for IoT:
- Encryption: All communication is encrypted, ensuring no one can snoop on your data.
- Authentication: SSH uses strong authentication methods, like passwords or public-key cryptography, to verify your identity.
- Flexibility: You can run commands, transfer files, and even set up secure tunnels—all through SSH.
Now that we’ve established why SSH is a must-have for IoT, let’s look at how to set it up.
Read also:Mary Jo Campbell A Deep Dive Into Her Inspiring Journey And Contributions
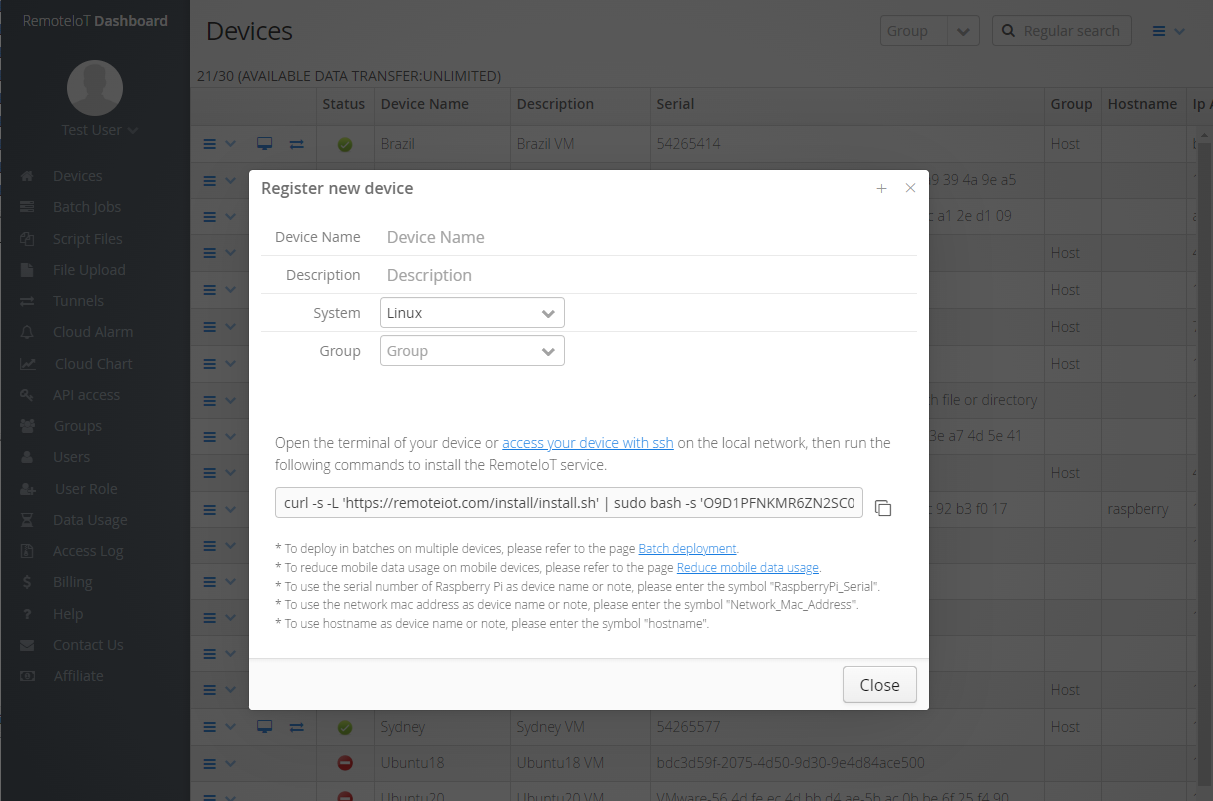
Basic SSH Setup for IoT Devices: Getting Started
Setting up SSH on your IoT device isn’t as daunting as it sounds. Most modern IoT platforms, like Raspberry Pi or Arduino-based systems, come with SSH pre-installed. However, you might need to enable it manually. Here’s a quick rundown:
Enabling SSH on a Raspberry Pi
If you’re using a Raspberry Pi, here’s how you can enable SSH:
- Boot up your Raspberry Pi.
- Open the terminal and type
sudo raspi-config. - Navigate to “Interfacing Options” and select “SSH.”
- Choose “Yes” to enable SSH and reboot your device.
Once SSH is enabled, you’re ready to connect remotely. Easy peasy!
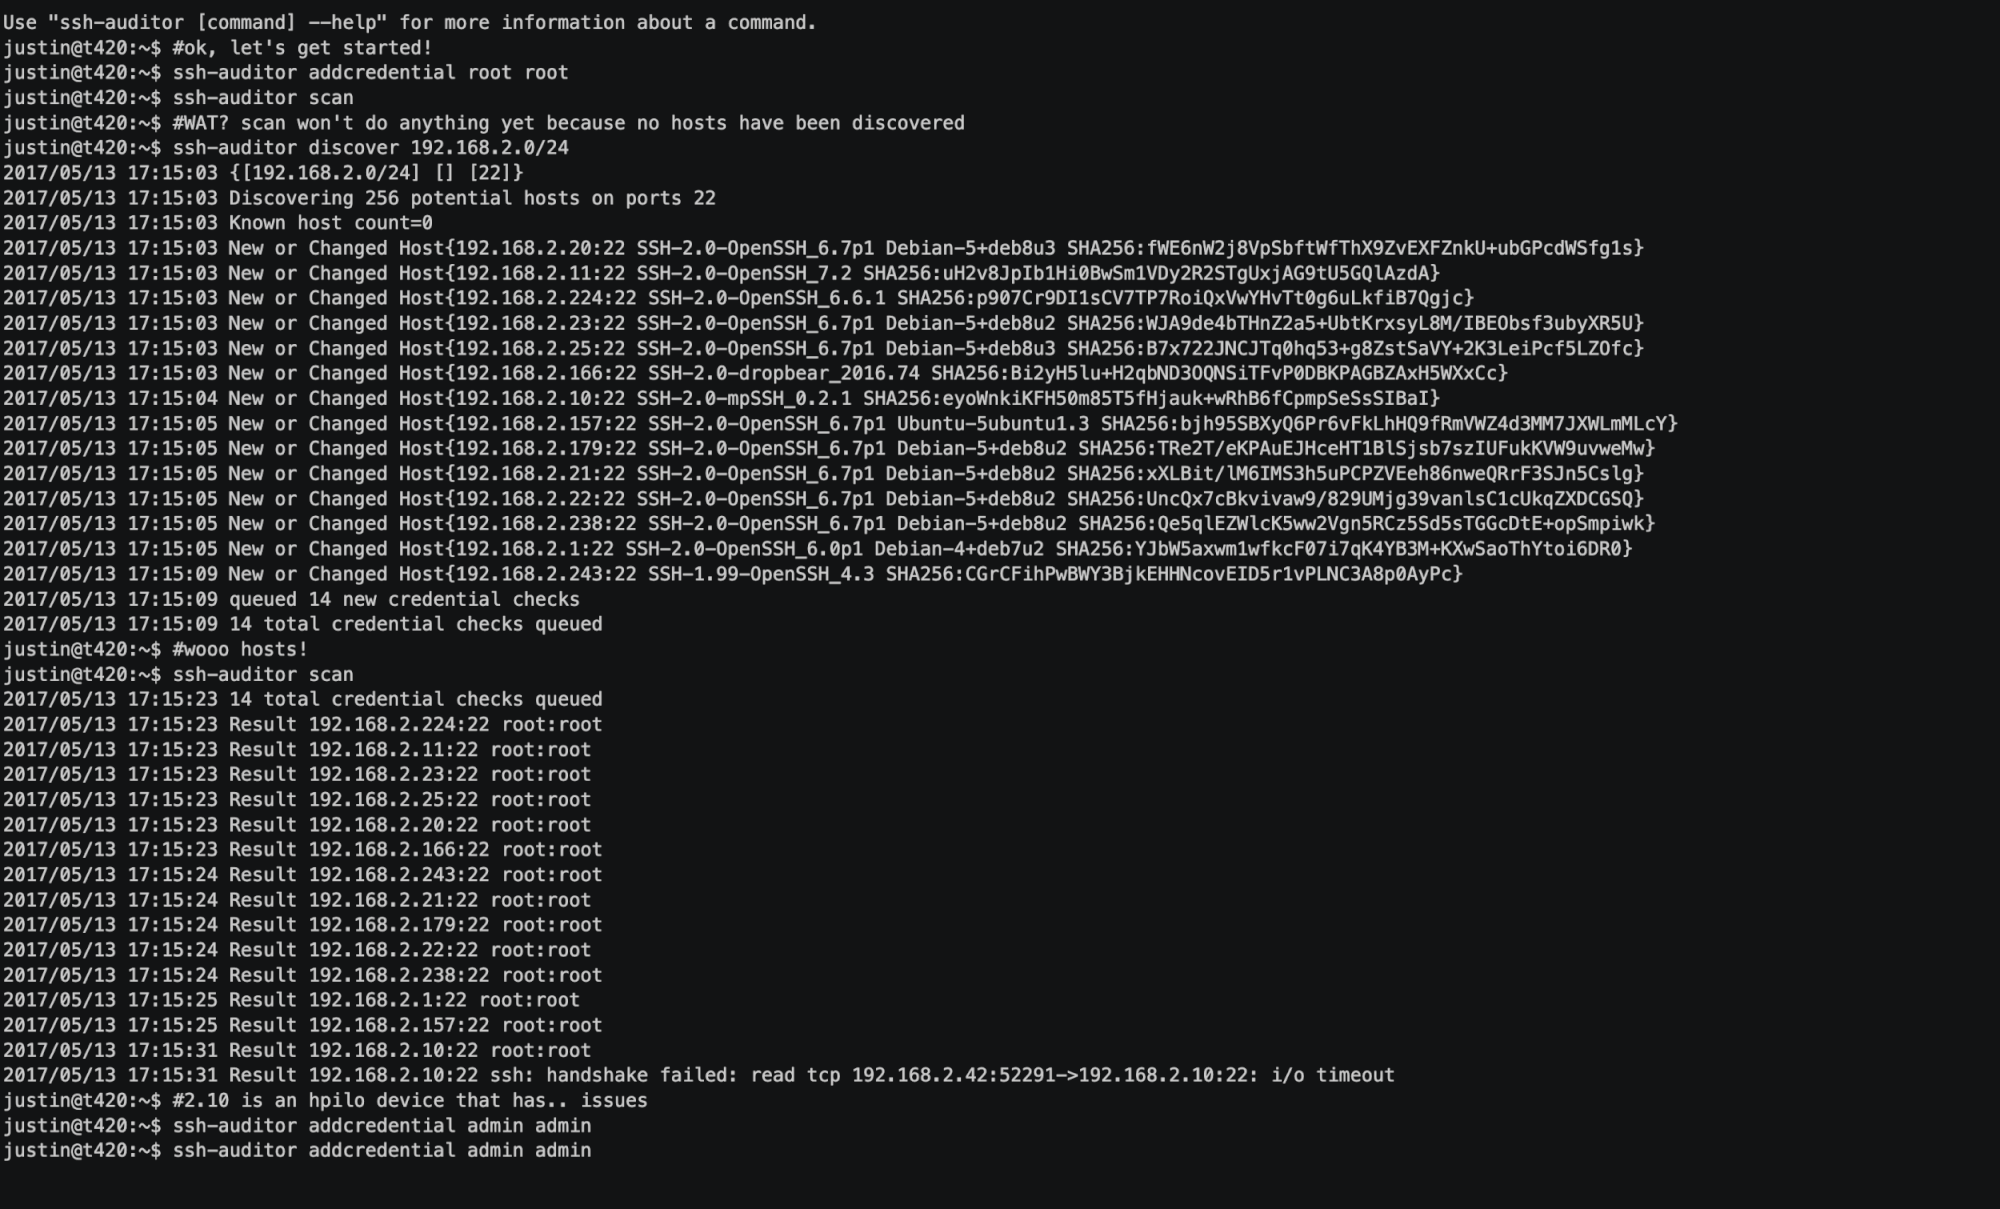
SSH Example: Step-by-Step Guide to Remote Access
Ready to connect to your IoT device? Follow these steps for a smooth SSH experience:
Step 1: Find Your Device’s IP Address
Before you can SSH into your device, you need its IP address. You can find this by running ifconfig or ip addr in the terminal. Look for the “inet” field under your network interface (usually wlan0 or eth0).
Step 2: Open Your SSH Client
On your local machine, open an SSH client. If you’re on Linux or macOS, you can use the built-in terminal. For Windows users, tools like PuTTY or Windows Terminal work great.
Step 3: Connect to Your Device
Use the following command to connect:
ssh username@ip_address
Replace “username” with your device’s username (e.g., pi for Raspberry Pi) and “ip_address” with the IP you found earlier.
Common SSH Commands for IoT: Power at Your Fingertips
Once you’re connected, here are some essential SSH commands to help you manage your IoT device:
- ls: List files and directories.
- cd: Change directory.
- sudo: Run commands with administrative privileges.
- scp: Securely copy files between your local machine and the remote device.
- top: Monitor system performance in real-time.
These commands are your bread and butter when working with IoT devices. Master them, and you’ll be unstoppable!
Securing Your SSH Connection: Lock It Down
While SSH is inherently secure, there are additional steps you can take to fortify your connections:
- Disable Password Authentication: Use public-key authentication instead.
- Change the Default Port: SSH runs on port 22 by default. Change it to something less obvious.
- Limit User Access: Restrict SSH access to specific users or IP addresses.
- Use a Firewall: Block unauthorized access to your SSH port.
By implementing these measures, you’ll make it much harder for attackers to compromise your IoT devices.
Troubleshooting SSH Issues: When Things Go Wrong
Even the best-laid plans can go awry. If you’re having trouble with SSH, here are a few troubleshooting tips:
- Check Your IP Address: Make sure you’re using the correct IP.
- Verify SSH is Enabled: Ensure SSH is active on your device.
- Test Network Connectivity: Ping your device to confirm it’s reachable.
- Review SSH Logs: Check logs for error messages that might hint at the issue.
Still stuck? Don’t worry—there’s a whole community of SSH enthusiasts ready to help.
Best Practices for Remote IoT SSH: Stay Sharp
Here are some best practices to keep your SSH connections running smoothly:
- Regularly Update Your Device: Keep firmware and software up to date.
- Use Strong Passwords: If you must use password authentication, make sure they’re complex.
- Monitor Connections: Keep an eye on who’s accessing your devices.
- Document Your Setup: Keep notes on your SSH configuration for future reference.
Following these guidelines will help you avoid headaches down the road.
Real-World SSH Examples for IoT: Putting It All Together
Let’s look at some real-world scenarios where SSH plays a vital role:
Example 1: Managing a Weather Station
Imagine you’ve set up a weather station in a remote location. Using SSH, you can remotely check sensor readings, update software, and troubleshoot issues without physically visiting the site.
Example 2: Monitoring Industrial Equipment
In industrial settings, SSH enables engineers to monitor and control machinery from a central location. This reduces downtime and improves efficiency.
Conclusion: Take Your SSH Skills to the Next Level
And there you have it—a comprehensive guide to remote IoT device SSH examples. From understanding the basics to securing your connections, we’ve covered everything you need to know. Remember, SSH isn’t just a tool—it’s a mindset. By adopting best practices and staying vigilant, you can ensure your IoT devices remain secure and reliable.
So, what are you waiting for? Go ahead and try out these SSH techniques. And don’t forget to share your experiences in the comments below. Who knows? You might just inspire someone else to take their SSH skills to the next level!